.png)
Capture leads at an event
Get ready before the doors open, capture contacts two ways on the floor, then work the list before it goes cold.
The night before
Everything that goes wrong at a stand is a setup problem: a QR nobody can scan, a card that opens on a placeholder bio, or a scanner you have never used asking for consent while somebody waits.
Set up in ten minutes
- Preview your own card on a phone and fix anything that reads like a placeholder
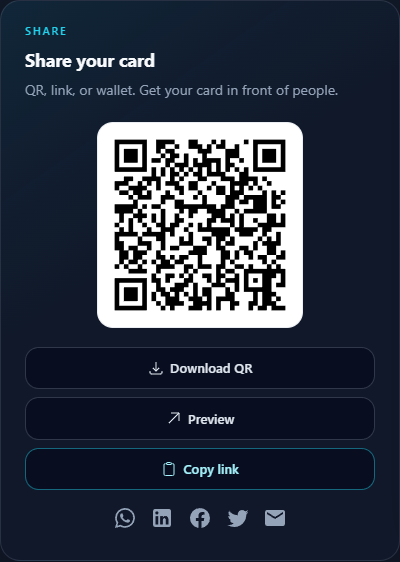
- Download the QR and print it big enough to scan from a metre away
- Add the card to Apple Wallet so you can share without unlocking a browser
- Open the card scanner once and clear the consent screen while you have signal
- Check your remaining scan allowance so it does not run out mid-event
On the floor
There are two directions of capture and you want both. Them scanning you costs you nothing and lands them on your card. You scanning them puts a real record in your pipeline.
- They scan your QR
- Fastest. They open your card, save your contact, and can reach you later.
- You scan their card
- The one that fills your pipeline. Their paper card becomes a lead you own.
Two ways to capture
Scanning a paper card
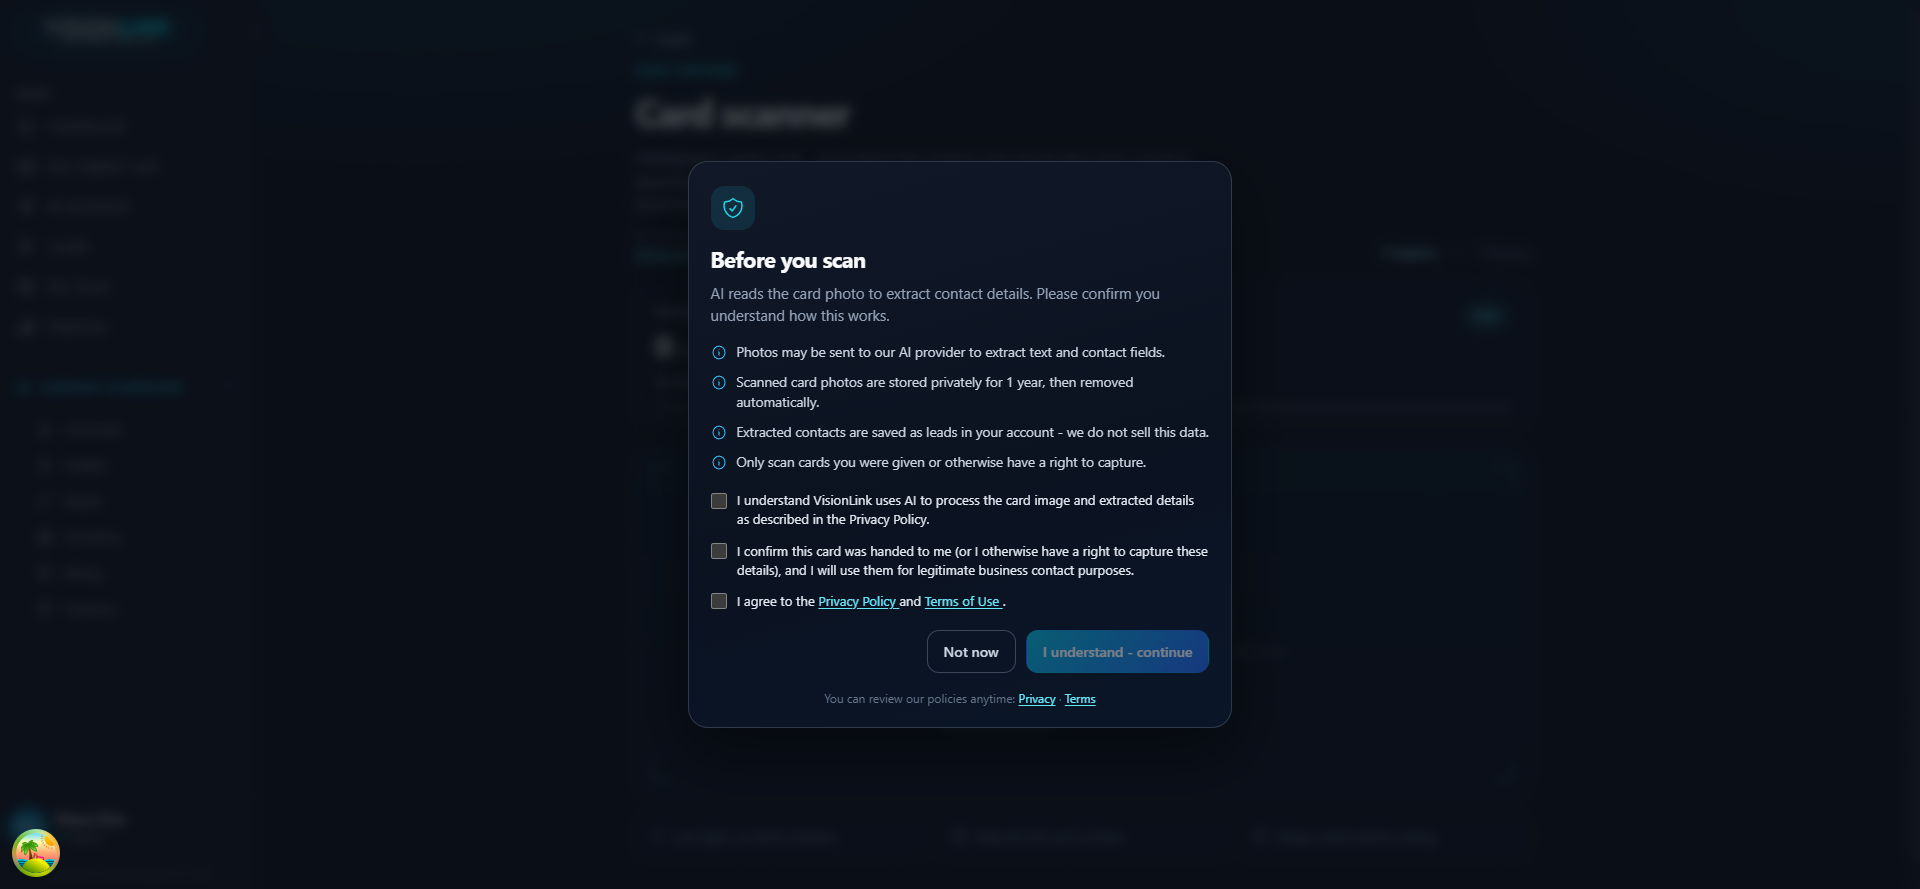
Open Scan a card from the dashboard or from Leads. The first time you use it, a consent screen explains that the photo goes to an AI provider to extract the text. You have to accept it once, which is why clearing it before the event matters.
Shoot in good light
Flat surface, no shadow across the text, card filling most of the frame. Glossy cards need an angle away from overhead lights.
Read every field
The extraction is good, not perfect. Phone numbers and unusual surnames are where it slips. Fix them before you save.
Save as a lead
It lands in Leads with its source marked as a scan. A vCard download is there if you only want the contact on your phone.
The morning after
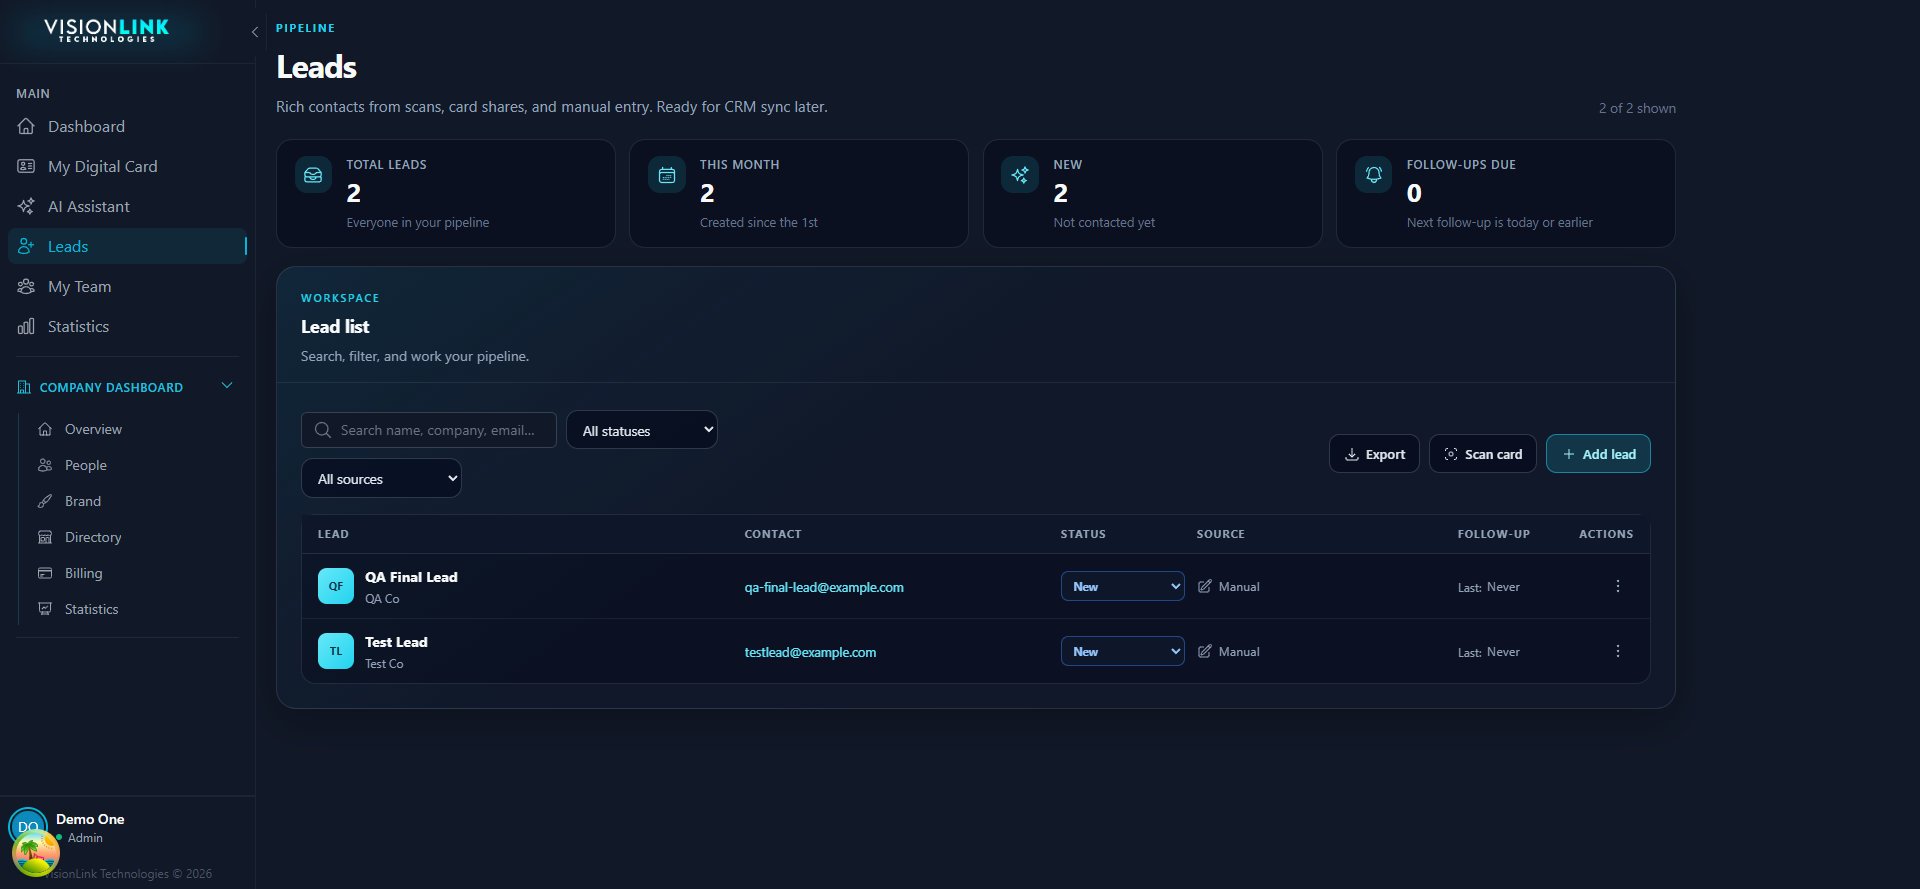
Open Leads. The tiles across the top are the only prompt you need: how many are new, and how many follow-ups are due today or earlier. Sort out the new ones while the conversation is still fresh in your head.
Filter to New
Use the status filter. Everything you captured yesterday is sitting in one place.
Move each one
Change the status as you go. A lead you never move is a lead you will never call.
Set a follow-up date
This is what feeds the Follow-ups due tile. Without a date, nothing reminds you.
Export if you need to
Export drops the list to a file for your CRM or for a colleague who is doing the calling.